Tuesday, May 3, 2011
Homemade Microwave Popcorn
Did you know you can make your own microwave popcorn?! I know, right. You take a brown paper lunch bag, put a few Tbsp. of regular unpopped popcorn in it, roll down the top about 3 times. Then put it in the microwave for about 2 minutes. Listen for the popping to slow then take it out. Then you can add whatever you want. Butter, seasoning, etc. Simple right? I wish I would have know this a while ago. It would have saved me a bunch of money on microwave popcorn!

Monday, May 2, 2011
Mmmm, cauliflower.
I participated in a food co-op on Saturday and got a head of cauliflower. Not wanting to do the regular steamed/boiled thing, I found this recipe. So good. Make sure to put lots of parmesan cheese on it because that's the best part. (Via simplyrecipes.com)
Roasted Cauliflower Recipe
INGREDIENTS
- 1 head of cauliflower
- 2-3 cloves of garlic, peeled and coarsely minced
- Lemon juice from half a lemon
- Olive oil
- Coarse salt and freshly ground black pepper
- Parmesan cheese
METHOD
1 Preheat oven to 400°F. Cut cauliflower into florets and put in a single layer in an oven-proof baking dish. Toss in the garlic. Sprinkle lemon juice over cauliflower and drizzle each piece with olive oil. Sprinkle with salt and pepper. If the oven hasn't reached 400°F yet, set aside until it has.
2 Place casserole in the hot oven, uncovered, for 25-30 minutes, or until the top is lightly brown. Test with a fork for desired doneness. Fork tines should be able to easily pierce the cauliflower. Remove from oven and sprinkle generously with Parmesan cheese. Serve immediately.
Wednesday, April 13, 2011
Kool aid playdough
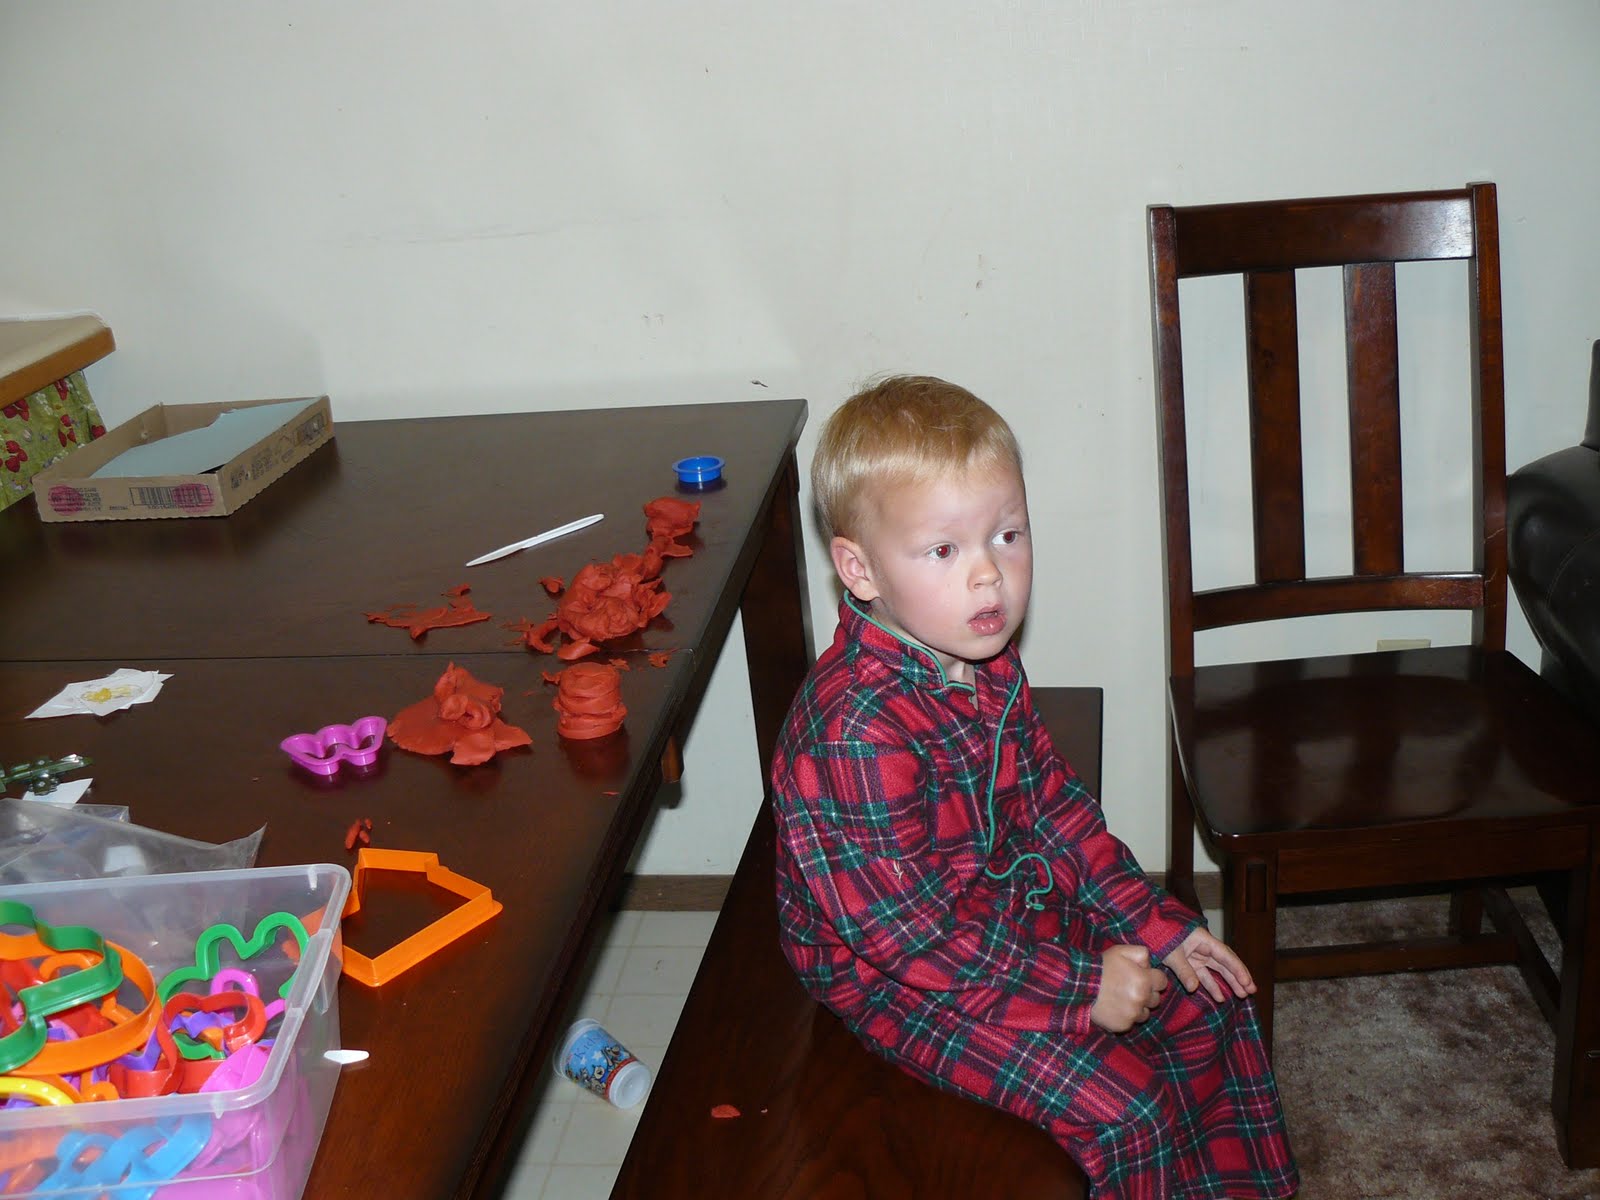
I wanted to share this recipe for Kool-aid Playdough. It doesn't have any weird ingredients, and it turns out great every time. It doesn't dry out as quickly as store-bought play dough- and the colors are so bright, you should give it a try!

2 1/2 cups flour
1/2 cup salt
2 pkg unsweetened Kool-aid
3 TBS oil
2 cups boiling water
Mix dry ingredients together. Make a hole in the middle of the dry ingredients. pour in the oil and boiling water. Mix with a spoon then knead when cool. Sometimes if it's too sticky i knead it with a little flour.
2 1/2 cups flour
1/2 cup salt
2 pkg unsweetened Kool-aid
3 TBS oil
2 cups boiling water
Mix dry ingredients together. Make a hole in the middle of the dry ingredients. pour in the oil and boiling water. Mix with a spoon then knead when cool. Sometimes if it's too sticky i knead it with a little flour.
Saturday, April 2, 2011
look what I made
 So my friend Addi taught me how to make these adorable sock monkeys. I will get the directions from her and post them. It is easy, but time consuming. It only takes 2 knee high socks, stuffing, thread and some buttons. Anyways I thought it was cute.
Sunday, March 20, 2011
Bajio Chicken
We have made this twice this month. It is super easy and DELICIOUS! Enjoy
5 Lbs. Chicken Breast (4-5 chicken breasts)
1/2 c. salsa
1 TBSP cumin
1/2 c. brown sugar
1, 4oz. can green diced chilies
6 oz. sprite (about 1/2 can, I add a little more)
Combine in crockpot, cook on low for 5-6 hours, shred, and cook for 1 more hour on high.
We serve it with cheese and salsa or black beans on the Costco tortillas (the one's you have to cook). YUMMY! It serves about 10-12 people or 5 people in my house.
Deonie
5 Lbs. Chicken Breast (4-5 chicken breasts)
1/2 c. salsa
1 TBSP cumin
1/2 c. brown sugar
1, 4oz. can green diced chilies
6 oz. sprite (about 1/2 can, I add a little more)
Combine in crockpot, cook on low for 5-6 hours, shred, and cook for 1 more hour on high.
We serve it with cheese and salsa or black beans on the Costco tortillas (the one's you have to cook). YUMMY! It serves about 10-12 people or 5 people in my house.
Deonie
Sunday, March 13, 2011
Camping Cookies
I came up with this recipe so Gabe and the kids could eat healthy when they go camping, as opposed to just eating junk food and pop. They are high in protein and fiber and low in fat and sugar, but they still taste good : ) These also work great for breakfast cookies or for a healthy alternative to regular chocolate chip cookies.
Anna's Camping Cookies
These are BEST if made the night before and eaten the following day, the flavors have more time to incorporate.
1/2 cup butter, softened (set the butter wrapper aside for use later)
1/2 cup peanut butter
1/2 cup brown sugar
3/4 cup splenda
-cream the above ingredients; add
1/2 cup pureed white beans (rinse and drain a can of white northern beans, then puree them + 3 T. of water in a food processor, store what you don't use in the fridge)
1 egg (at room temperature)
2 tsp. vanilla
-mix ingredients until smooth; in a separate bowl mix the following ingredients
2 cups ground white wheat flour
1 1/2 cups ground rolled oats (put 1 3/4 rolled oats in a blender or food processor to make the oat flour)
3 heaping T. of protein powder (not the flavored kind)
2-3 T. benefiber (optional)
1 tsp. baking soda
1/4 tsp. baking powder
1/2 tsp. salt
-add the dry ingredient mixture 1 cup at a time, mixing each time; add
1 cup semi-sweet chocolate chips
-mix until the chocolate chips are well incorporated
The dough should not be too sticky, I know when mine is the right consistency because it falls off my kitchen-aid paddle quite easily. Use your butter wrapper to lightly grease the cookie sheet. Drop cookies by rounded spoonful onto the sheet, then squash down half way. This is important because the cookies don't spread out as much because there is less butter in them. Bake at 350 degrees for 10-12 minutes, then let them completely cool before eating.
Tuesday, December 28, 2010
BORAX SLIME!!!

Homemade Slime Recipe
Borax
White Glue
Water
Food Coloring (optional)
Ziploc bag1. Borax is available in the laundry section of your local grocery store. Take a cup of water and add to it 1 Tbs. of borax (approx 4% solution). Stir until completely dissolved.
2. Make a 50% water 50% white glue solution. Take 1/4 cup of each and mix thoroughly.
3. In a ziploc bag, add equal parts of the borax solution to equal parts of the glue solution. 1/2 cup of each will make a cup of slime.
4. Add a couple drops of food coloring.
5. Seal bag and knead the mixture.
6. Dig in and have fun. Remember to wash your hands after playing.
7. Keep your slime in the sealed bag in the refrigerator when not playing with it to keep it longer. Unfortunately it may eventually dry out or grow mold. Just throw it out and start again!
Subscribe to:
Posts (Atom)